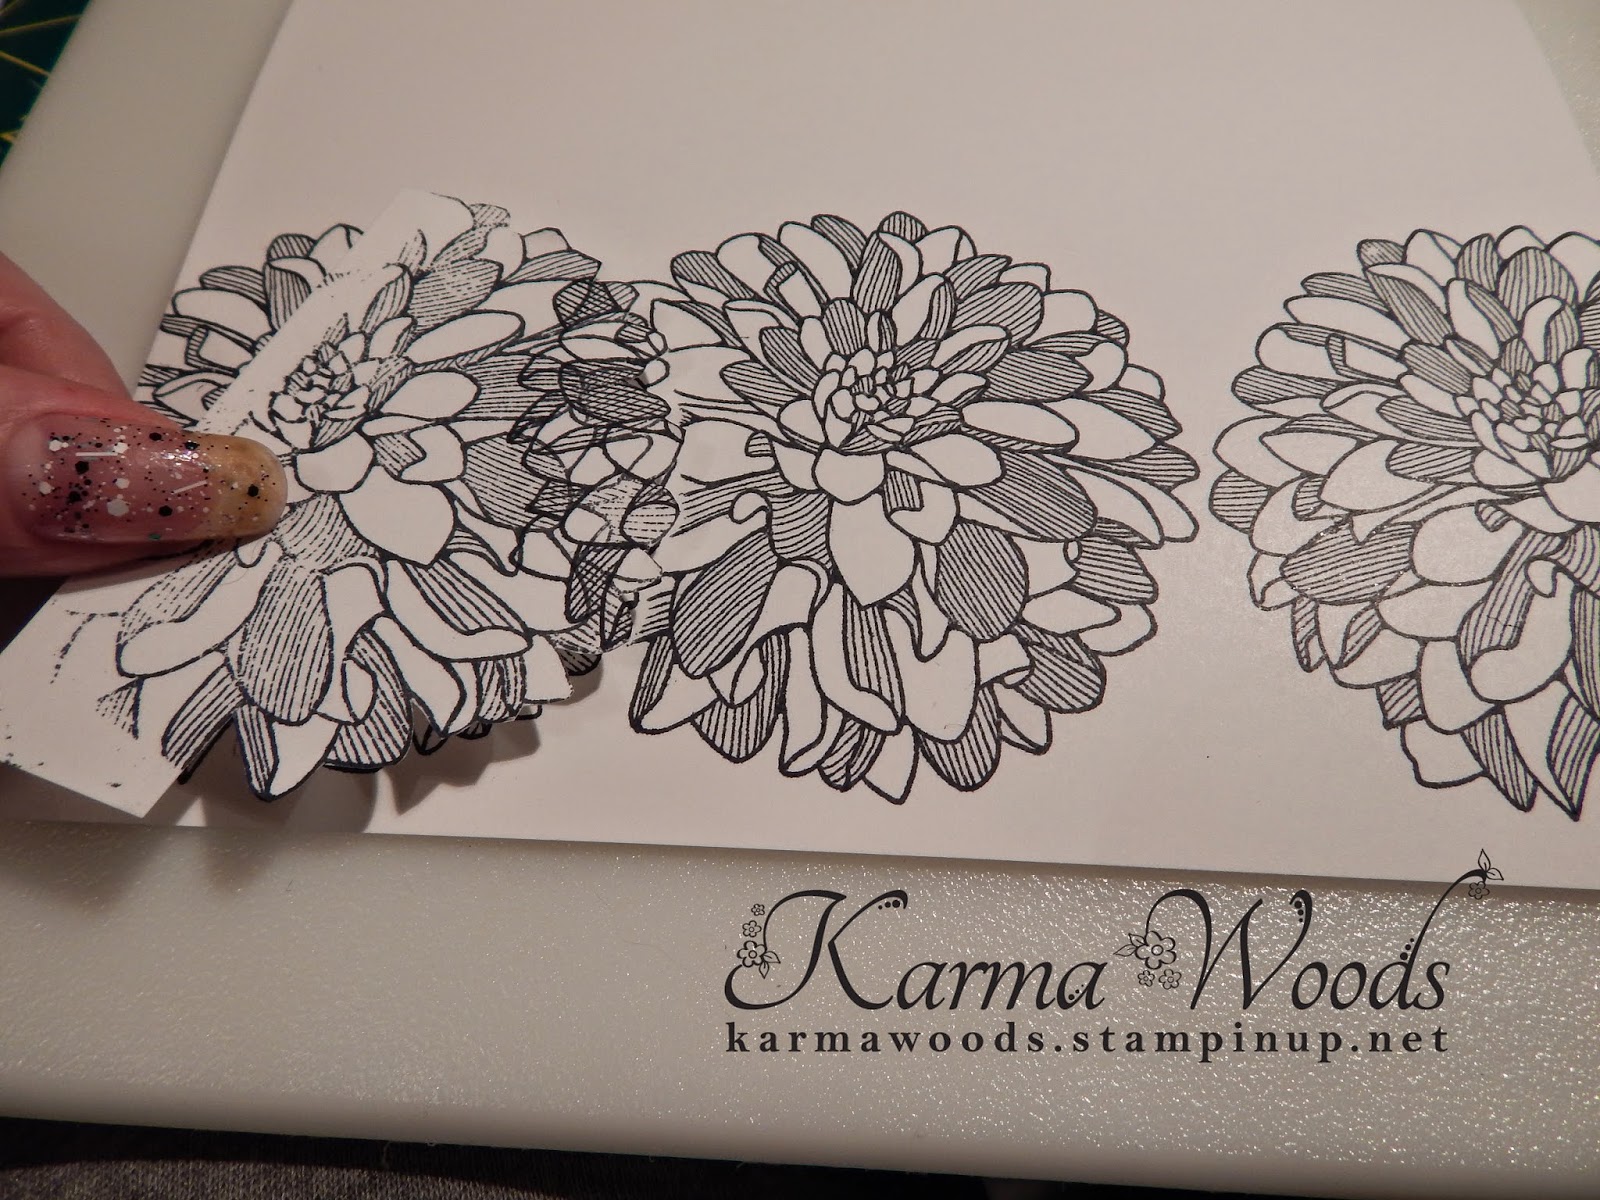
Ok, so here is where i have coloured the card using the Blendabilities, and it is also where i decided to do a picture tutorial, so I Put it back where I had cut it from lol.
I used Stampin' Up! paper snips scissors they are pointy right to the tip making it easier to cut fine details, and the are super sharp great for cutting ribbons too.
I'm not going to lie, it took quite some time to cut around the Dahlia, but it was well worth it.
This is the Regarding Dahlia Stampset, It is from last years Catalog, but is still available in this years. there Are 5 stamps all up, I have made a few cards on this blog with it.
here is where i cut my card, it is a bit bigger than my usual cards because the flower is quite big, so i cut Whisper white cardstock at 7 inch by 10 inch, then I folded in half making a 7X5 card
Ok now i used memento black ink and stamped 3 Dahlias in a row leaving a slight gap where the blended Dahlia will go.
I stamped a dahlia on a seperate piece of cardstock and cut around it to create a mask, so i could stamp on it without doubling over the stamped image..... Sorry if I am not to good at explaining..... here is an extract i got for another website on stamp masking..... they do a much better job :p
At www.paperwishes.com
Stamp your image on scrap paper or the Post-It. Cut out the image, cutting just inside the line.
Stamp the image again onto your regular paper. Place the paper mask on top, covering the image completely to protect it as you stamp the second time. This is where the temporary adhesive on the post-it comes in handy; otherwise, hold a corner of the paper mask down while you stamp.
Stamp again, positioning the image partially onto the mask. This second image will appear to be behind the first. Repeat, if you want additional images.
Here i have just placed my Dahlia in the row to see how it looks :) very nice
I got Black cardstock and cut a strip 1-1/2 inch by 7 inches and stuck it down using snail adhesive
put the Dahlia on top to see how it looks.... again very nice.
These are stampin' up! dimentionals, they are little foam hexagons that have double sided adhesive, they give a little lift to your embelishments or images, I decided i wanted my Dahlia to look 3D.
You can see by the shadow it comes off the card slightly.
I used the Thanks a bunch sentiment from Occasions 4 you stampset, It would also look nice coloured in with stampin' write markers, but I decided I want everything on the card black and white, so the colour of the flower stands out.
Well there you go as easy as that. and it looks lovely in my humble opinion :p I hope you enjoyed seeing how my card was made, and happy creating!!!!
Please note - Stamp prices displayed here are for the clear mount sets, as these are the ones I buy and prefer, wood mount stamps do cost slightly more.


No comments:
Post a Comment