Thursday 31 July 2014

August Big Shot Special!!


Big Shot Bundles
If you purchase a Big Shot in the month of August you can select a FREE BUNDLE, but if you already have a Big Shot that’s okay, you can purchase these bundles at a 15% discount. How awesome is that?!
Check out the FLYER to see which bundle takes your fancy.
Sumthin’ Sumthin’ with Word Bubbles Framelits
Daydream Medallions with Floral Collection Framelits
Oh My Goodies with Deco Labels Framelits
Day of Celebration with Chalk Talk Framelits
Bright & Beautiful with Stars Framelits   (The Bright and Beautiful stamp set is part of the brand new Holiday catalogue going live at the end of this month.)
All sets are available in either wood or clear stamp sets. 

 The Big Shot and bundles cannot be purchased with hostess credits or 50% off hostess discount or purchased in starter kits to qualify for the promotion. 

Sunday 20 July 2014

Regarding Dahlia Cards

OK OK First let me tell you a story, I decided on friday to colour my hair, you know hide the Greys, well I got a home kit and thought I would quickly do it while my Baby was having a nap, sooooo I put the rich burgandy colour through my hair and all over the bathroom :/, anyways washing it out in the shower some got in my eye, It didn't hurt and I figured diluted with water no probs, well it started to get irritating later that night, woke up my eye was swollen red and weeping YUCK!!
Put up with it as long as I could then went to the DR, I had chemical burnt my Cornea, thankfully my eyesight is still fine and the pupil isn't burnt. but sunday now and my eye is still very sore, I have to wear a patch and put drops in 4 times a day.Anyway having said that I could not stop crafting soooo here are the cards I struggled to get done with my one good eye :D


Please note Fussy cutting with tiny scissors and one eye is extremely difficult!!!  :p 
This is in Strawberry Slush colour, and using the New Bakers Twine.... which I love :)

Tuesday 15 July 2014

Stampin' Up! Card Using Blendabilities and Regarding Dahlia

 Almost Everyone is using their Stampin' Up! Blendabilities with the stamp Blended Bloom.... And that is great it looks awesome, but little old me doesn't have that stamp (yet) soooo, I decided to give Regarding Dahlia a go, and I love how it turned out, now I only have Cherry Cobbler Blendabilities, because i wanted to try them out before i got more, and I love the red on black look :) ..... Anyways I took as many pics as I could to try to show step by step how this card was made, I hope you like my card :)
Ok, so here is where i have coloured the card using the Blendabilities, and it is also where i decided to do a picture tutorial, so I Put it back where I had cut it from lol.

 I used Stampin' Up! paper snips scissors they are pointy right to the tip making it easier to cut fine details, and the are super sharp great for cutting ribbons too.
 I'm not going to lie, it took quite some time to cut around the Dahlia, but it was well worth it.
 This is the Regarding Dahlia Stampset, It is from last years Catalog, but is still available in this years. there Are 5 stamps all up, I have made a few cards on this blog with it.
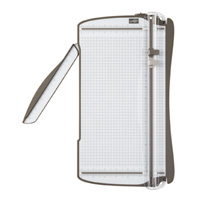
 here is where i cut my card, it is a bit bigger than my usual cards because the flower is quite big, so i cut Whisper white cardstock at 7 inch by 10 inch, then I folded in half making a 7X5 card
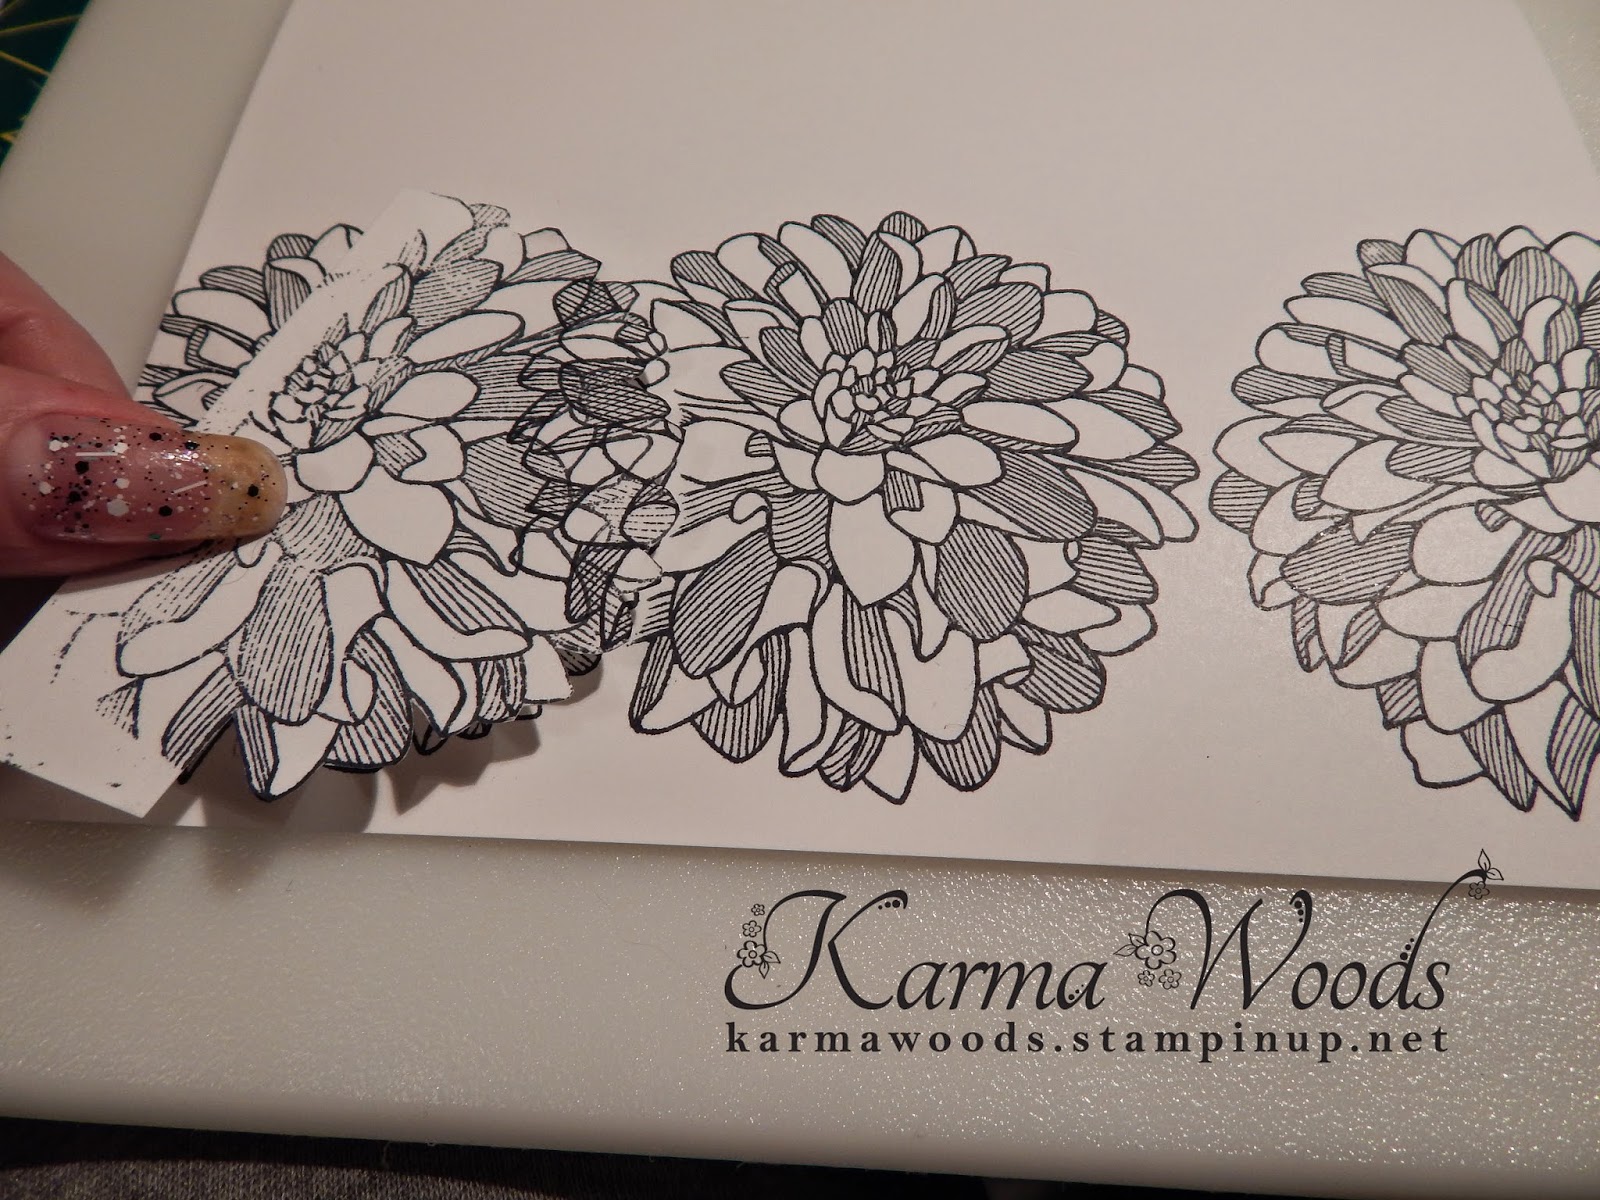
 Ok now i used memento black ink and stamped 3 Dahlias in a row leaving a slight gap where the blended Dahlia will go.
 I stamped a dahlia on a seperate piece of cardstock and cut around it to create a mask, so i could stamp on it without doubling over the stamped image..... Sorry if I am not to good at explaining..... here is an extract i got for another website on stamp masking..... they do a much better job :p
At www.paperwishes.com
Stamp your image on scrap paper or the Post-It. Cut out the image, cutting just inside the line.
Stamp the image again onto your regular paper. Place the paper mask on top, covering the image completely to protect it as you stamp the second time. This is where the temporary adhesive on the post-it comes in handy; otherwise, hold a corner of the paper mask down while you stamp.
Stamp again, positioning the image partially onto the mask. This second image will appear to be behind the first. Repeat, if you want additional images.

 Here i have just placed my Dahlia in the row to see how it looks :) very nice
 I got Black cardstock and cut a strip 1-1/2 inch by 7 inches and stuck it down using snail adhesive
 put the Dahlia on top to see how it looks.... again very nice.
 These are stampin' up! dimentionals, they are little foam hexagons that have double sided adhesive, they give a little lift to your embelishments or images, I decided i wanted my Dahlia to look 3D.
 You can see by the shadow it comes off the card slightly.

 I used the Thanks a bunch sentiment from Occasions 4 you stampset, It would also look nice coloured in with stampin' write markers, but I decided I want everything on the card black and white, so the colour of the flower stands out.
 Well there you go as easy as that. and it looks lovely in my humble opinion :p I hope you enjoyed seeing how my card was made, and happy creating!!!!


Please note - Stamp prices displayed here are for the clear mount sets, as these are the ones I buy and prefer, wood mount stamps do cost slightly more.

Fabulous Florets

 When I first got into Stampin' Up! products I started out buying some retired items on Ebay, Well the first stampset I got came with a little Thankyou card, much like this one. and so the love of stampin' Up! products was born.
This Card is 4x4 size, In Rich Razzleberry, The Flower is from the retired Fabulous Florets stampset. The thanks sentiment is from the simply sketched stampset. I used the retired little leaves stampin up die. and a pearl embellishment.


Thursday 10 July 2014

Age awareness stampin' up!

Tonight I got round to this stampset, it is a photopolymer set which makes it cheaper than the rubber sets, but it still comes in the same packet as the clear mount sets so it all looks nice in my collection. 


Here I used the 4 little candles and made a row by stamping next to each other, colours I used are Daffodil delight and Bermuda bay, the ribbon is bermuda bay taffeta ribbon. used colour coordinated designer series paper for the background.
 Here I used the hexagon punch to cut out the DSP, such a quick simple card, but I think it looks great

I used bermuda bay and smoky slate ink, The ribbon is retired but Stampin' Up! have new ribbons that would suit this style card anyway.
I love the sentiment. Facebook is awesome for remembering birthdays ;)  had great fun with this set, and there are so many ways to use them.


Wednesday 9 July 2014

Door signs continued.....


O.K this is my door sign for my eldest son, being 11 he doesn't want cutesy things sooooo, I got out my Gorgeous Grunge, red ink splattered over his name, and black cardstock background I think he will love it. 

Gorgeous Grunge is a very versatile stampset great as a background or to add a little extra. Great for boys :)

                                         Door sign for my baby Ethan, so so cute (like him)
How cute is this little guy, from the baby we've grown stampset. coloured with aqua painters using pool party and smoky slate. A little pearl embellishment for his little bow.

Aqua painters are my fave colouring tool, I just press my ink pad on an acrylic block and use the brush to paint the colour onto my stamped image.

Stampin' Up! Moon Baby

Moon Baby !! Love this stamp set, Knew it had to be mine :)  nothing cuter than a baby snuggled on the moon. can not wait to have a play. ...